we’ve got your spot!
Thank you for booking a pottery class with Terranita Ceramics! We’re so excited to create something special with you! Time in the studio is all about slowing down, connecting with clay and building a community around making.
We’ve included some information below about our studio space, what to expect and how to prepare for our classes.
about the studio
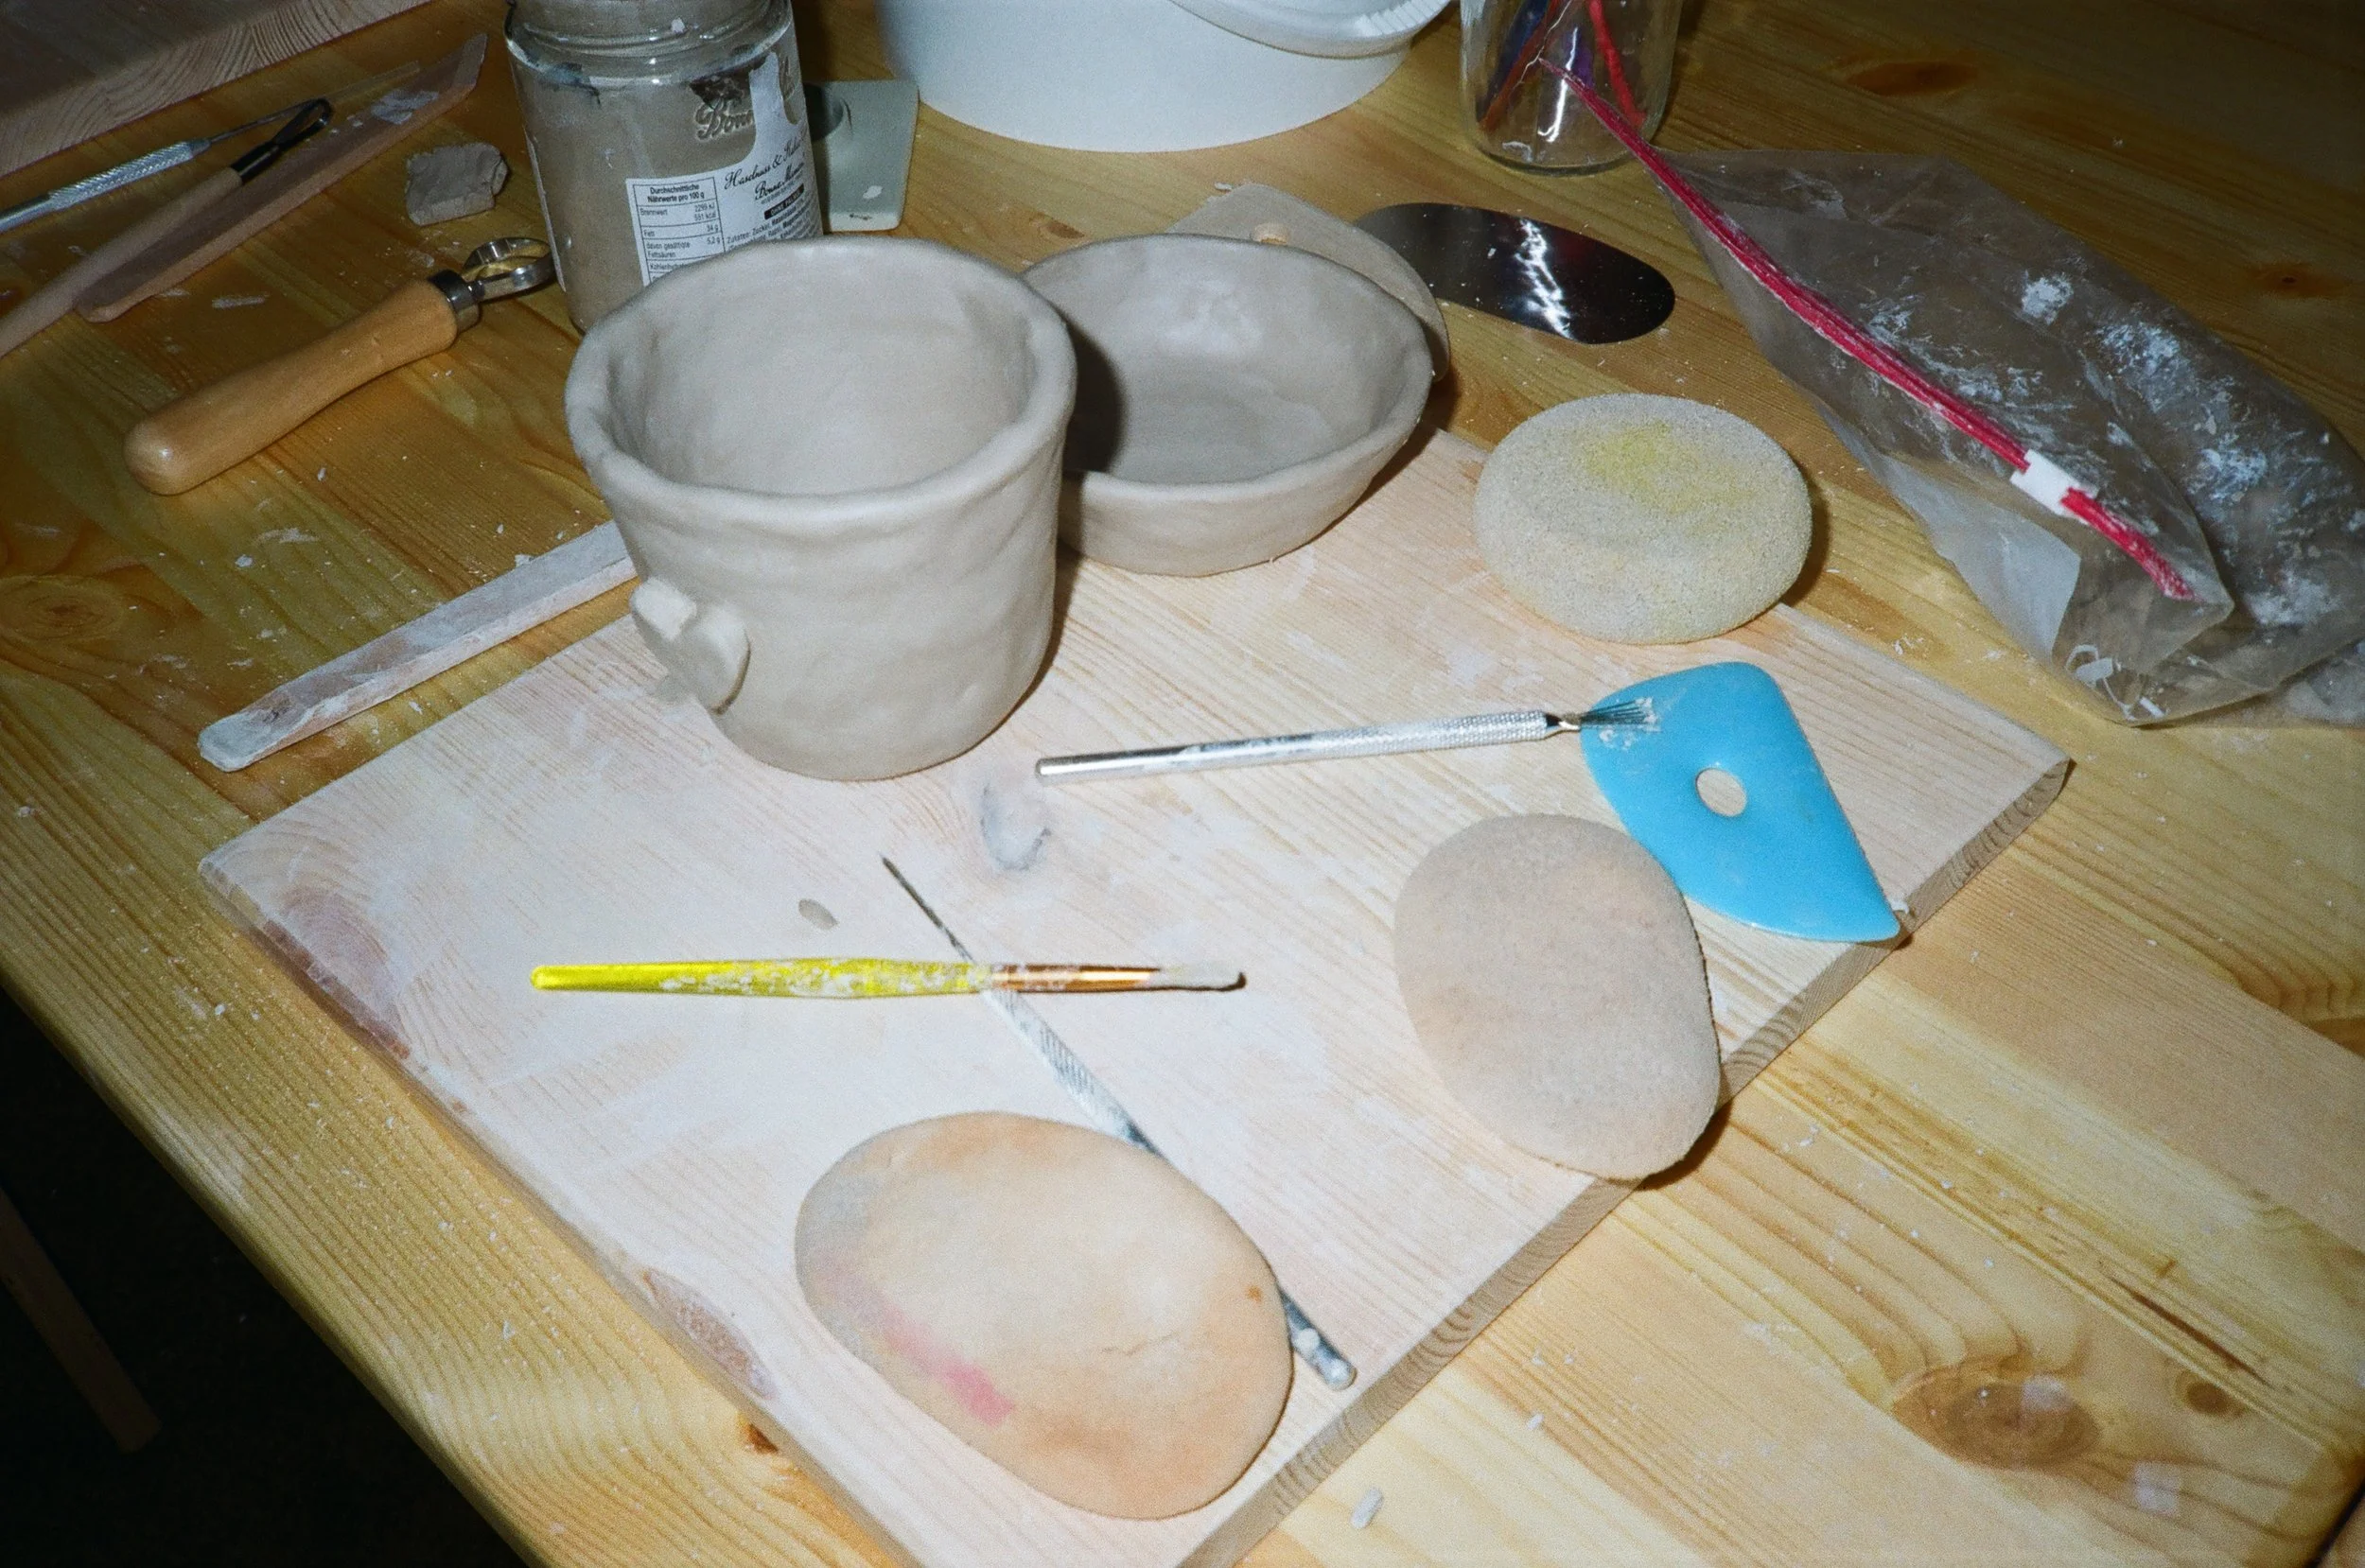
Our studio is nestled in our private residence. When you arrive, simply walk through the entrance gate and follow the path to the back of the building—I'm usually outside waiting to greet you. Inside, our entire basement has been thoughtfully laid out into dedicated studio spaces. Our workshop space—a bright and functional area designed for private lessons, group workshops, and community courses, features: a large worktable and stools that comfortably seats up to 10 people. Shelving filled with work samples, tools and materials for workshops, a small cart for refreshments and a bathroom.
Just next door, is my personal studio space, this is where all the messy magic happens—glazing, mold pouring, and any work involving water or liquid materials.
preparing for our workshops
❋
Before the workshop, please take a second to review our parking information guide. I’ve highlighted a few convenient spots within and near our neighborhood. Be sure to arrive 10-15 minutes to get settled.
❋
Wear comfortable clothes that you don’t mind getting a little messy. If you are joining us for a glazing session, there may be some colors we use that will stain light clothing. *We have aprons available in the studio.
❋
To help keep our studio space clean, we kindly ask that you remove your shoes upon entering. Since the studio is carpeted, we recommend bringing a cozy pair of socks to wear during your visit.
❋
You’re welcome to bring snacks/refreshments if you’d like – I always have beverages available during workshops.
next steps + pick up
01
Drying
(1-2 Weeks) – After our workshop your work will need time to dry thoroughly, ensuring no moisture remains in the piece. Longer dry times result in successful firings = less chances for cracks and pieces breaking.
02
Bisque Fire
(3 Days) – Once your piece is completely dry it goes through it’s “first fire.” The kiln reaches a temperature of 1,940°F (1060°C), transforming your piece from greenware to bisque ware – the body becomes porous allowing the piece to absorb liquid.
03
Glazing
(1-2 days) – This step is a bit more time consuming as we work in batches depending on the glazes chosen for each piece. We always have a selection of “studio glazes” available – these are included with the cost of the workshop.
*For an additional cost you can customize your own pieces with paint on glazes. A clear gloss or matte finish is included with this option. During the workshop I’ll come around and ask for your glazing preferences.
04
Glaze Fire
(4 days) – Once everything is glazed your work is loaded into the kiln for it’s final firing. The kiln reaches a temperature of 2232°F (1235°C), melting the glaze into a beautiful glossy or matter finish.
05
Finishing
(1 day) - If your piece was stilted in the kiln we will gently sand the bottom to smooth out any rough edges. *Stilting is required if your piece is glazed on the bottom. This prevents the work from melting onto the kiln shelves.
06
Pick up
(scheduled time) – Once your work is ready for pickup I will notify you via email or text. At this point we can schedule a time for pick up.
* I’m happy to drop off work (at no extra cost) if i’m traveling through your area.

